
Ether Dream - Previous Hardware
There have been two previous versions of Ether Dream:
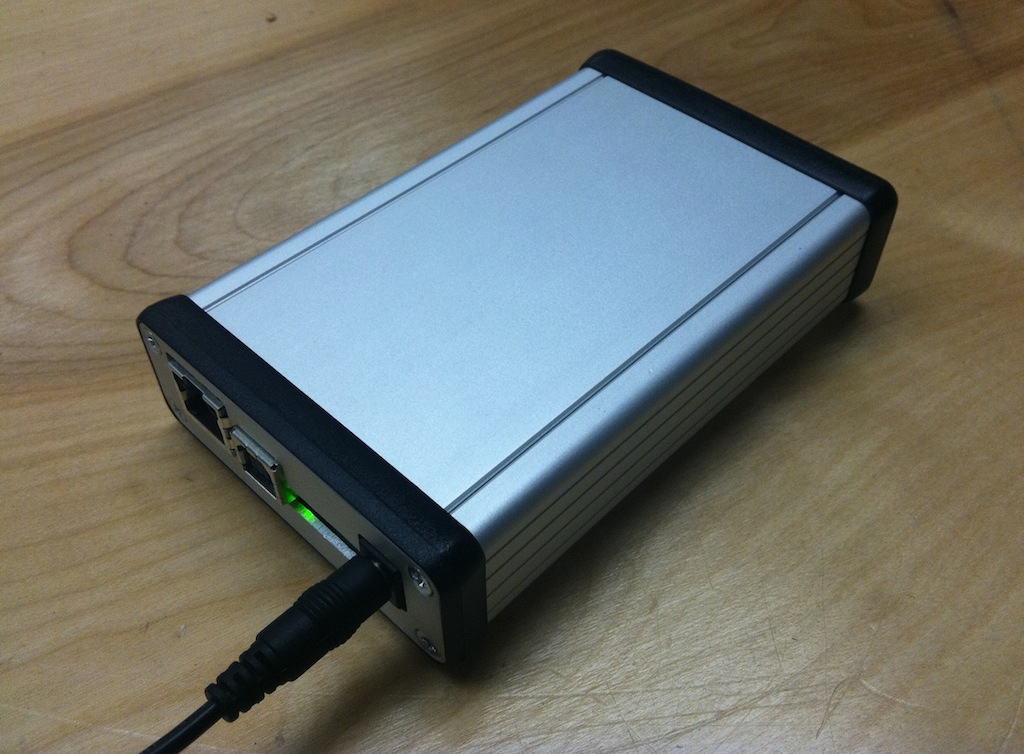
Ether Dream 2
ED2 devies have a power connector on the left side, and three vertical LEDs on the right side.
- Streaming playback over 100M Ethernet
- Multi-interface driver library: supports LSX, ILD SOS, LFI Player, and any software compatible with EzAudDac
- Protocol-compatible with original Ether Dream
- Sample driver code available for Windows, Mac, and Linux
- ILDA output: 2x 16-bit (X/Y) plus 8x 10-bit (separate R, G, B, I, U1-U4)
- Can be built into a laser projector; internal DMX output header
- Drag-and-drop firmware updates over USB from any computer, no software needed
- Power supply: 8V to 25V DC, via screw terminals or standard 5.5mm jack
- Case and 100-240v universal power adapter included
- Made in California, USA
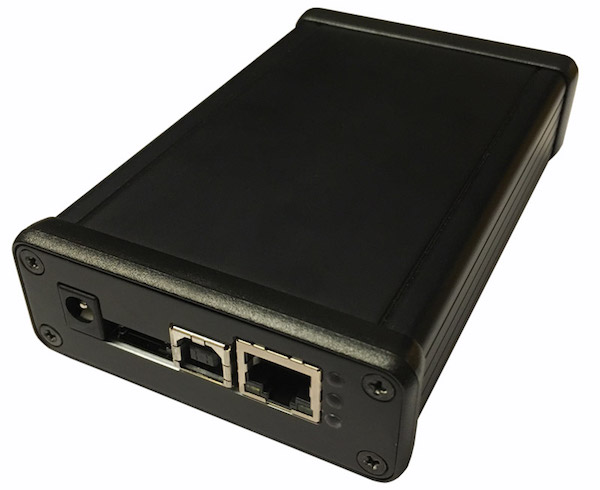
Original Ether Dream
The original Ether Dream has an Ethernet connector on the right side, and does not have the three vertical LEDs.
Documentation
A hardware manual for the original Ether Dream is available.
The original Ether Dream supported DMX via an expansion board.
Firmware
Source code for the firmware of the original Ether Dream is available under the GNU GPL on GitHub.
Steps to install the latest firmware, version 0.5.4:
- Download and extract libusb-win32-bin-1.2.5.0.zip. Navigate
to the
bindirectory and runinf-wizard.exe. - Connect the Ether Dream directly to your computer with a USB cable; leave the Ethernet port on the Ether Dream disconnected. Power on the Ether Dream.
- Click "next" in
inf-wizardto reach the Device Selection screen. You should see a device with Vendor ID 0xFFFF, Product ID 0x0005, Description "USBSerial". Select it and click "next". - Leave all the fields on the Device Configuration page at their default values. Click "next". You will
be prompted for a location to save a .inf file; anywhere will work. Then, click "install now" to
install the drivers needed for the firmware update. Once done, close
inf-wizard. - Download update-v0.5.4.exe and run it. It should detect the Ether Dream, reset it, and put it into firmware update mode; when the DAC is ready, click "Update". If the program stops at "Resetting", try closing and reopening it; leave the DAC connected.
- Once the update is complete, close the updater program and disconnect the DAC.